Ero sivun ”Cellmapper/en” versioiden välillä
(Ak: Uusi sivu: 6. Press on the Upload icon after this and the data will be sent to the server. We recommend that you also turn on the '''Enable instant upload''' feature from the settings, so you...) |
(Ak: Uusi sivu: 7. Close cellmapper after use so it won't drain your whole battery.) |
||
| Rivi 81: | Rivi 81: | ||
6. Press on the Upload icon after this and the data will be sent to the server. We recommend that you also turn on the '''Enable instant upload''' feature from the settings, so you don't have to press the button every time. | 6. Press on the Upload icon after this and the data will be sent to the server. We recommend that you also turn on the '''Enable instant upload''' feature from the settings, so you don't have to press the button every time. | ||
| − | 7. | + | 7. Close cellmapper after use so it won't drain your whole battery. |
[[Tiedosto:Screenshot_2015-05-25-15-54-35.png|400px]] | [[Tiedosto:Screenshot_2015-05-25-15-54-35.png|400px]] | ||
Versio 28. heinäkuuta 2015 kello 10.49
Cellmapper is a useful application for locating 2G/3G/4G base stations. Cellmapper's maps are automatically updated by users who broaden the database by using the application.
Cellmapper does not work on Windows Phone or iOS devices since the software they use prevents using the network API. Part of Cellmappers features require rooting your android.
While using cellmapper, pay attention to:
- Battery consumption rise (looks for GPS signals and checks network quality)
- Screen won't turn off while application is running (More battery consumption!)
- Base station location in urban areas is best determined by doing round trips of city blocks. At more rural locations you should do larger sweeps to save time. You will get the best result on flat ground.
- Ensure that you have a sufficiently good connection to the base station as well as a GPS connection.
Cellmapper is constantly being developed and the changelogs and devlogs can be found on their webpages: https://www.cellmapper.net/mw/index.php/Feature_Requests
Here is a direct link to their FAQ: https://www.cellmapper.net/mw/index.php/FAQ
If you have something to ask about cellmapper, you should contact the developer directly https://plus.google.com/communities/101488064885764774600
Sisällysluettelo
Scanning
1. Download for Android Cellmapper application.
2. Enable GPS (not Google's location service)
Location services can be enabled in Samsung devices in : Settings -> Location services -> Use GPS satellites
3. Start the application. Ensure that you are connected to the 2G/3G/4G base station that you wish to measure. You need to have a data plan / contract with the operator, whose connection you wish to measure.
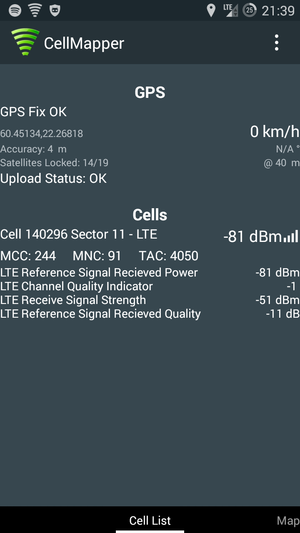
In the Cell List tab you can see if GPS has been connected properly (GPS OK) as well as your base stations information.
In the picture we have connected to "Cell 140296" base station in an LTE network. GPS has determined location by 4 meters accuracy and 14 out of 19 satellites have been connected to.
| Abbrevation | Explanation | Example |
|---|---|---|
| Cell | Cell ID, this is used to differentiate between cells | Cell 555 |
| Sector | The sector number of the cell | Sector 1 |
| MCC | Mobile network country code | 244 (Finland) |
| MNC | Mobile network operator code | 5 (Elisa) |
| RSRQ (Reference Signal Received Quality ) | Signal receive quality | |
| SINR (Signal to Noise Ratio) | SINR value scale is -20 - +30 dBm, the bigger the better. Signal strength is average when it goes above 15dBm, maximum speed is 50Mbps. One must have roughly 25dBm if he wants to have 100Mbps speeds. | |
| RSRP (Reference Signal Received Power) | Signal strength. -50dBm is the best, it is good to have -90dBm and -110dBm is weak. When the signal is better than -90dBm we can monitor the SINR value alone. | |
| RSSI (Received Signal Strength) |
4. Maps tab
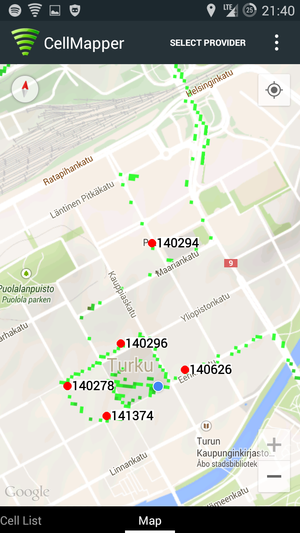
In the maps tab you can see the location of already mapped base stations. The application will automatically only show the base stations of the current network (LTE in the picture). The location of base stations can also be viewed from the Cellmapper webmap. The base station is marked on the map as a red dot in mobile and a red arrow in a browser. By clicking on the base station you can see it's range as a black zone. Light green indicates best signal quality, dark green good quality, black average quality and red the weakest signal quality. [[Tiedosto:Screenshot 2015-05-25-15-56-16.png|400px]] .
By pressing Select Provider you can switch the operator and network you wish to measure.
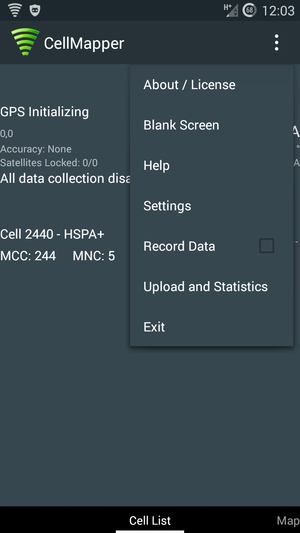
Put a tick into Record Data so that you measurements will be collected for uploading.
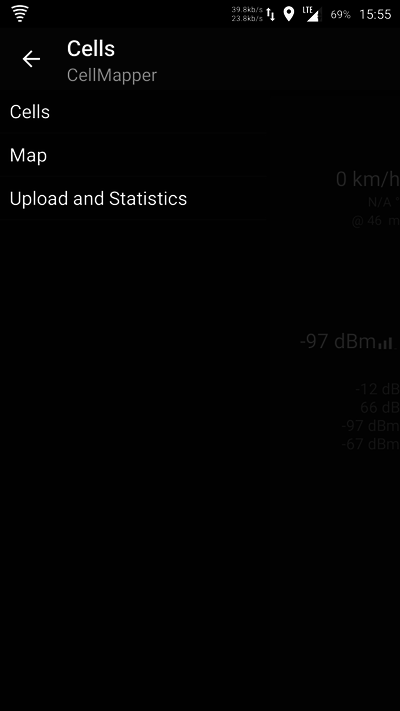
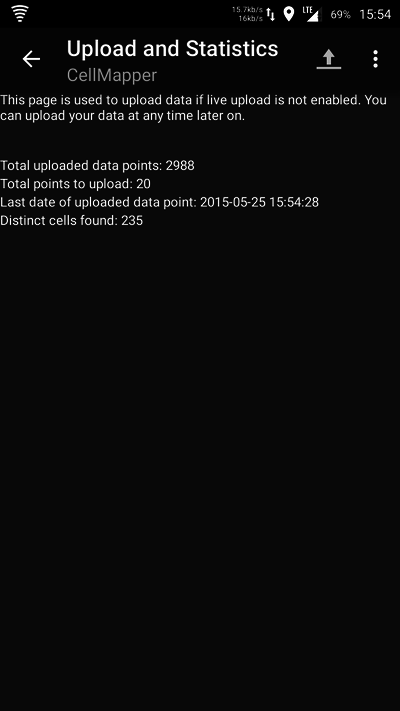
5. Upload your recorded data to the Cellmapper server by opening the Cell List tab and Upload and Statistics tab. You should always upload your newly measured base station so that somebody else won't have to go and redo it, and they can instead view it from the map. The cellmapper map is updated nearly instantaneously .
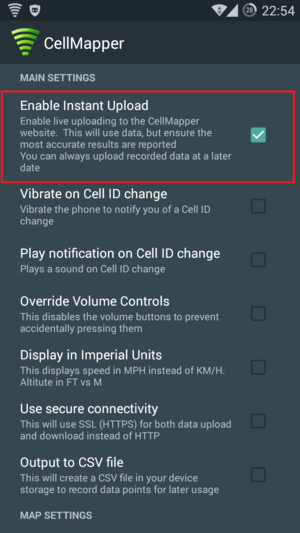
6. Press on the Upload icon after this and the data will be sent to the server. We recommend that you also turn on the Enable instant upload feature from the settings, so you don't have to press the button every time.
7. Close cellmapper after use so it won't drain your whole battery.
Asetukset
Automatic data upload
This enables the cellmapper application to automatically transmit data to the cellmapper servers that you have collected of a base station.
Open the application settings and put a tick in Enable Instant Upload.
Taajuudet
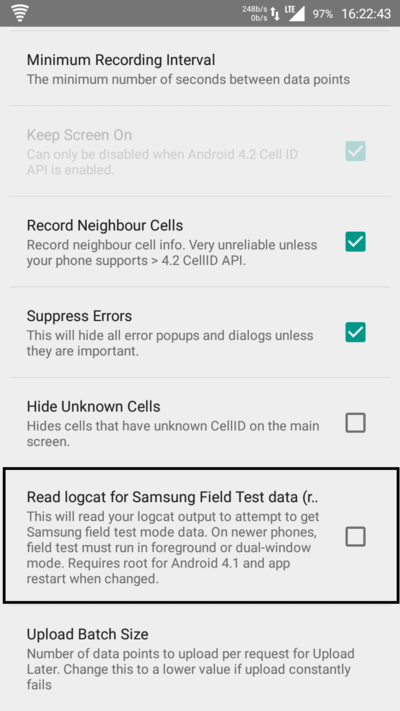
Cellmapper voi mitata mobiiliverkon taajuuksia Samsungin field test modella (tämä vaatii root oikeudet). Sinun siis tulee rootata puhelimesi (menetät takuun tässä jos tämän teet). Sen jälkeen otat käyttöön Cellmapperin asetuksista Read logcat for Samsung Field Test data. Soneran ja DNA LTE taajuudet tulevat automaattisesti selaimen kartalle joten tätä ei tarvita näissä verkoissa. Elisan LTE:tä ei ole mahdollista automatisoida joten ainoa mahdollisuus on rootatulla Samsung puhelimella mitata. Tämä siis ei toimi custom romeissa. Testaa soittaa *#0011# niin näet sieltä Band numeron. Suomessa on käytössä pääasiassa LTE band 20 (800Mhz) ja 3 (1800Mhz).
Operaattorien LTE Sectorit ja niitä vastaavat taajuudet.
| Operaattori | Sector | Taajuus | Muuta |
|---|---|---|---|
| DNA | 1, 2, 3 | 1800Mhz | |
| DNA | 10, 20, 30, 40 | 800Mhz | |
| Elisa | 1, 2, 3 | 800Mhz / 1800Mhz | |
| Sonera | 11, 21, 31 | 1800Mhz | |
| Sonera | 12, 22, 32 | 800Mhz | |
| Sonera ja DNA | 13, 23, 33 | Yhteisverkko |
Käyttäjät
Cellmapper kerää tietoja päätelaitteeltasi mm. sijaintia, laitteesi merkki ja malli, operaattorisi, verkon muita tietoja. (Katso tarkka lista Cellmapperin omilta sivuilta)
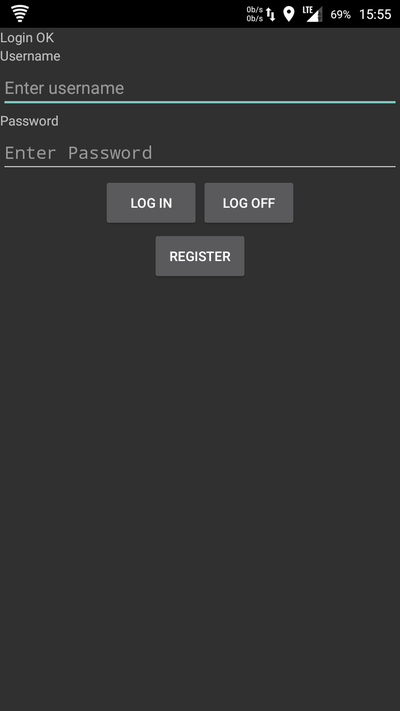
Voit rekisteröitä Cellmapperin sovellukseen ja kirjautua siihen helposti Valikko -> Accounts. Sinulta ei vaadita paljonkaan käyttäjätietoja, käyttäjätunnus, sähköposti ja salasana pelkästään. Näet kirjautumisesi tilan Cells näkymässä: Login OK .
Kartta selaimessa
Cellmapperin kartta on kätevästi selaimessa saatavilla https://www.cellmapper.net/map osoitteessa.
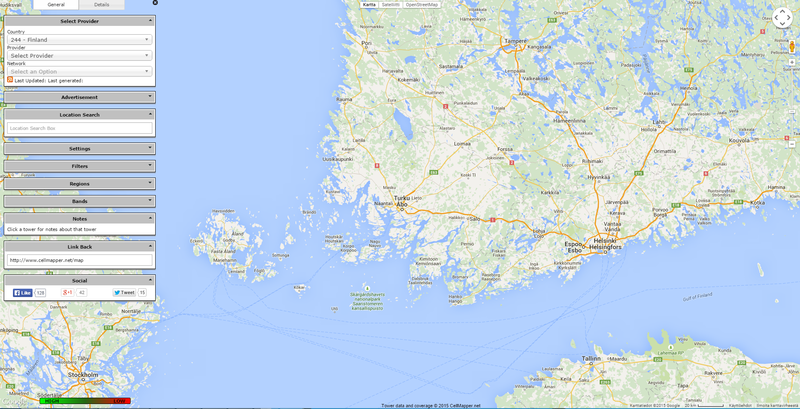
Valitse vasemmalta: County = Maa, Provider = Operaattorisi, Network = 2G/3G/4G verkko.
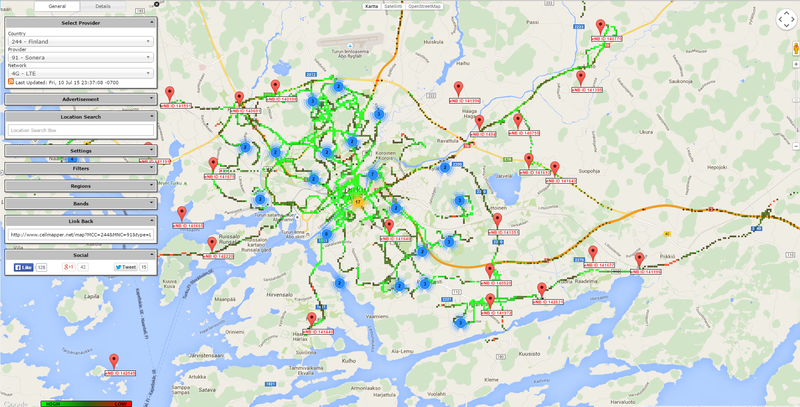
Tämän jälkeen latautuu valitsemasi verkon tukiasemat kartalle. Valitsimme esimerkiksi Finland, Sonera, LTE ja suuntasimme Turkuun.
Vasemmalta olevasta valikosta voit valita taajuudet mitkä tukiasemat näkyy bands klikkaamalla. Tämä toiminto toimii Suomessa vain Soneran LTE ja DNA LTE verkossa. Filterin alla voi valita Show low Accuracy Towers niin näet enemmän tukiasemia. Nämä tukiasemat ovat siis epätarkkoja ja osa tukiasemista voi olla sellaisia tukiasemia jossa yksi tai kaksi solua vain. Myös jos on heikko tarkkuus eivät näy ilman tätä vaihtoehtoa ole määritetty kunnes on mitattu tarkeammin.
Värien perusteella näet signaalivahvuuden. Vaalea vihreä tarkoittaa hyvää yhteyttä ja tummempi jo heikko yhteyttä. Punainen tarkoittaa yleensä että yhteys on katkeamaisillaan. Jos on mustaa niin se tarkoittaa ettei ole ollenkaan yhteyttä.
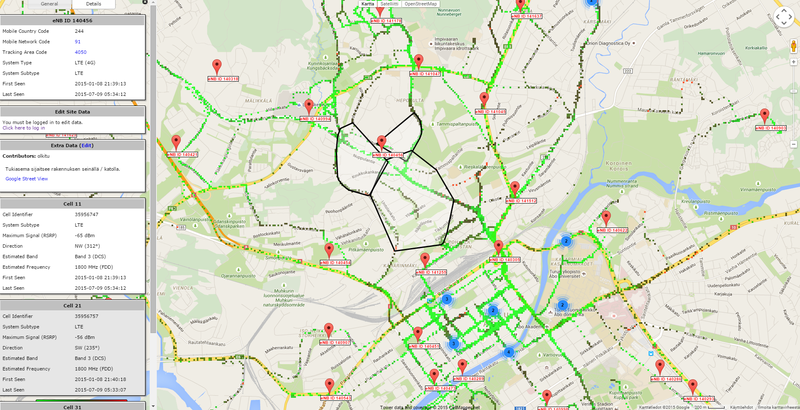
Klikkaa tukiasemaa niin näet tukiasemasta lisää tietoa. Vasemmalla näet esimerkiksi koska ensimmäiseksi ja viimeksi mitattu, paras signaali mitä tukiaseman soluun saatu yhteyttä (RSPR) sekä taajuuden, jos saatavilla. Yleensä tukiasemassa on kolme solua jotka suuntautuvat eri suuntiin. Jos tukiasema on väärässä sijainnissa ja tiedät oikean sijainnin, voit siirtää tukiasemaa kirjautumalla sisälle Edit Site Data:n alta Click here to login in. Käyttäjätunnus ja salasana on sama kuin Cellmapperin sovelluksessa.
Extra Data kohdassa voit kirjoittaa lisätietoa tukiasemasta tai muuta sellaista. Tukiasemasta voi liittää esimerkiksi kuvan jos haluat. Tunnukset tänne kannattaa kysellä yhteisöstä.
Virheilmoitukset
Tässä kokoan erilaisia virheilmoituksia ja niihin selitykset
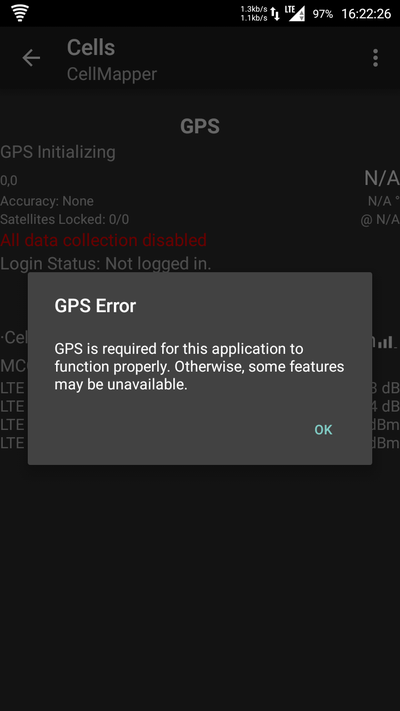
GPS Error
GPS virhe johtuu siitä että GPS ei ole päällä. Ota se käyttöön matkapuhelimen asetuksista. Cellmapper ei pysty mittaamaan ilman GPS. Mittauessa kannattaa varmistaa että etusivulla on GPS Fix OK. Tämä varmistaa että data on oikeanlaista. Googlen sijaintipalvelu ei ole sama asia kuin GPS.
Sijaintipalvelut voi ottaa käyttöön Samsungissa: Asetukset -> Sijaintipalvelut -> Käytä GPS sateliittejä.
